Beautiful Paper Visor Hat
- Opeyemi Richardson-Ovbiebo
- Oct 1, 2020
- 2 min read

In celebration of Nigeria at 60, let's create a paper visor hat
MATERIALS
9 inches by 5 inches white card for the visor
4 inches by 4 inches white card or paper for the collage
18 inches by 1 inch long strip green card for the band
10 inches by 5 inches green card for the top panel
Green ribbon or elastic
Scissors
Uhu Adhesive
Mod Podge (You can use any type of adhesive available)
Pencil

Lets go!
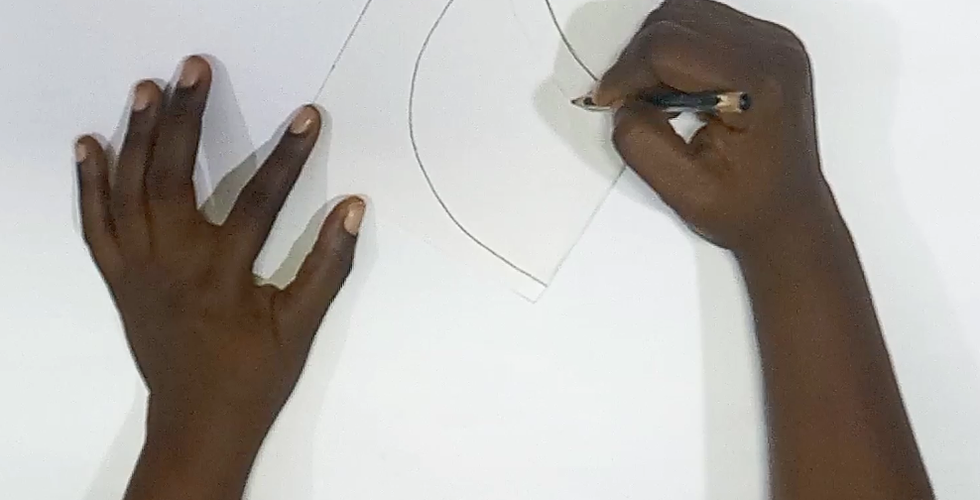
STEP 1:
Fold the 9 inches by 5 inches white card into two and draw half of the visor pattern. Also draw the line for creasing thinly.


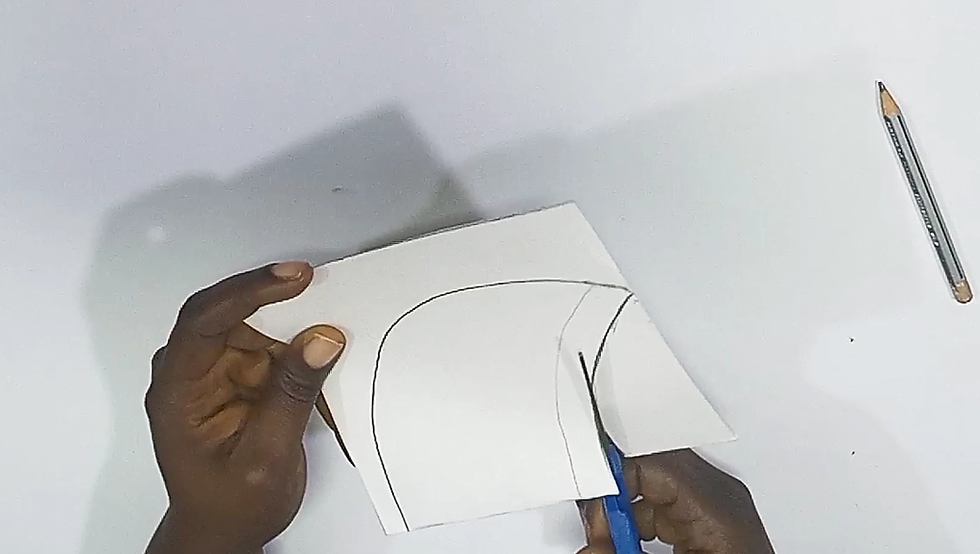
STEP 2:
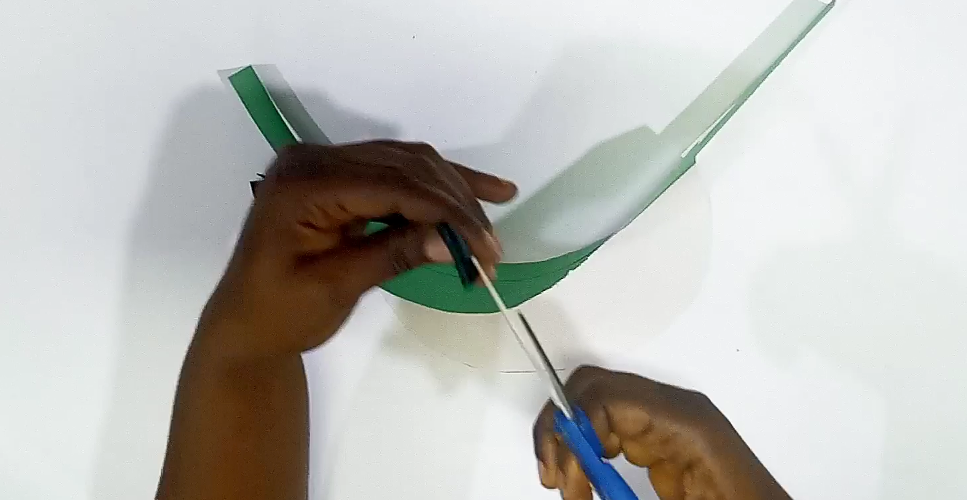
Cut out the shape and open up to see the full form, then crease the line. You can use a blunt pencil or a ball point pen cover
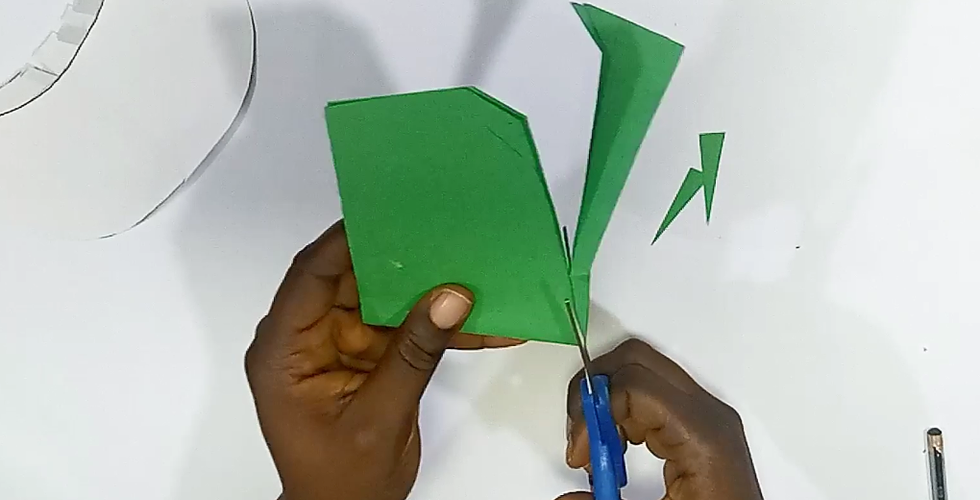
STEP 3:
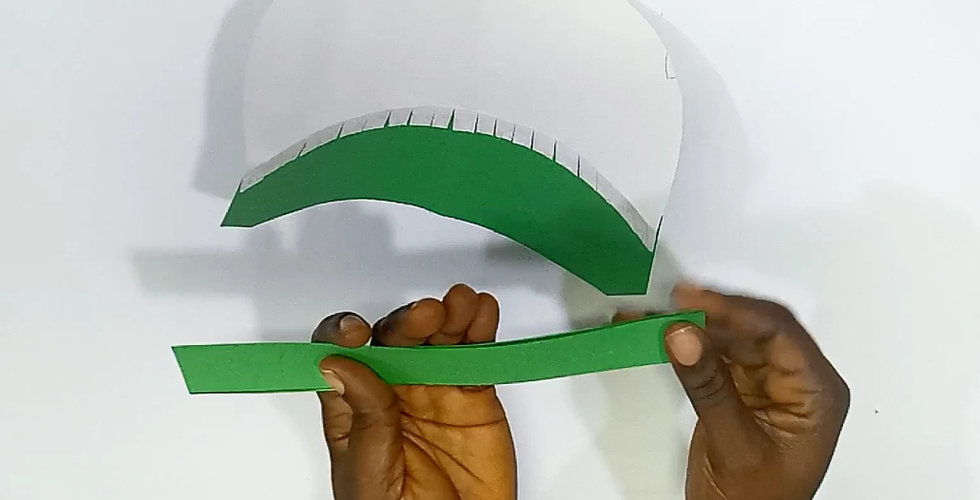
Cut the flaps. Remember to stop cutting on the creased line.

STEP 4:
Fold the flaps backwards


STEP 5:
Fold the 10 inches by 5 inches green card for the top panel and draw half of your pattern, then cut out the shape.


Now let's collage before joining the top panel to the visor.
Collage is the use of pieces of light materials to create a picture.
Here we are using paper
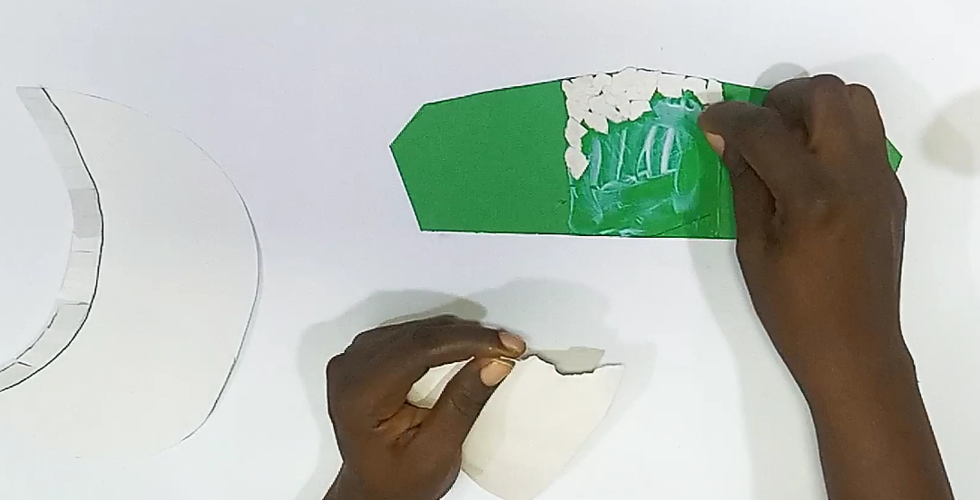
STEP 6:
Mark the space on the top panel for the collage by measuring 1.5 inches from the center to the right and left

STEP 7:
Apply glue (mod podge) to the spots and start creating your collage.
Tear the 4 inches by 4 inches white card piece by piece and stick to the surface till the spot is all covered.


STEP 8:
Now join the top panel to the visor using the flaps. Apply glue on the flaps and fix together.


STEP 9:
Fold the 18 inches by 1 inch green card into two equal half. Apply glue to the part where the top panel and visor are joining. Then glue the long strip to that spot making sure the folding lines are on the same level


STEP 10:
Fold the ribbon into equal half and cut.
Apply glue to the ends of the band, leave to dry a bit and glue the ribbons to the ends, right and left.


... and our Visor is ready!

LET'S CELEBRATE


Comments